You don’t typically see coffee urns for household use unless you guzzle cup after cup of coffee every day. Instead, these coffee devices are meant for large gatherings such as catered events or meetings because they can fuel many people.
If you find yourself needing a coffee urn, you should know that it doesn’t work like a typical coffee maker. Instead, a coffee urn has different functions and capabilities. Below, you’ll learn what exactly a coffee urn is and how to master it.
Coffee Urn Overview

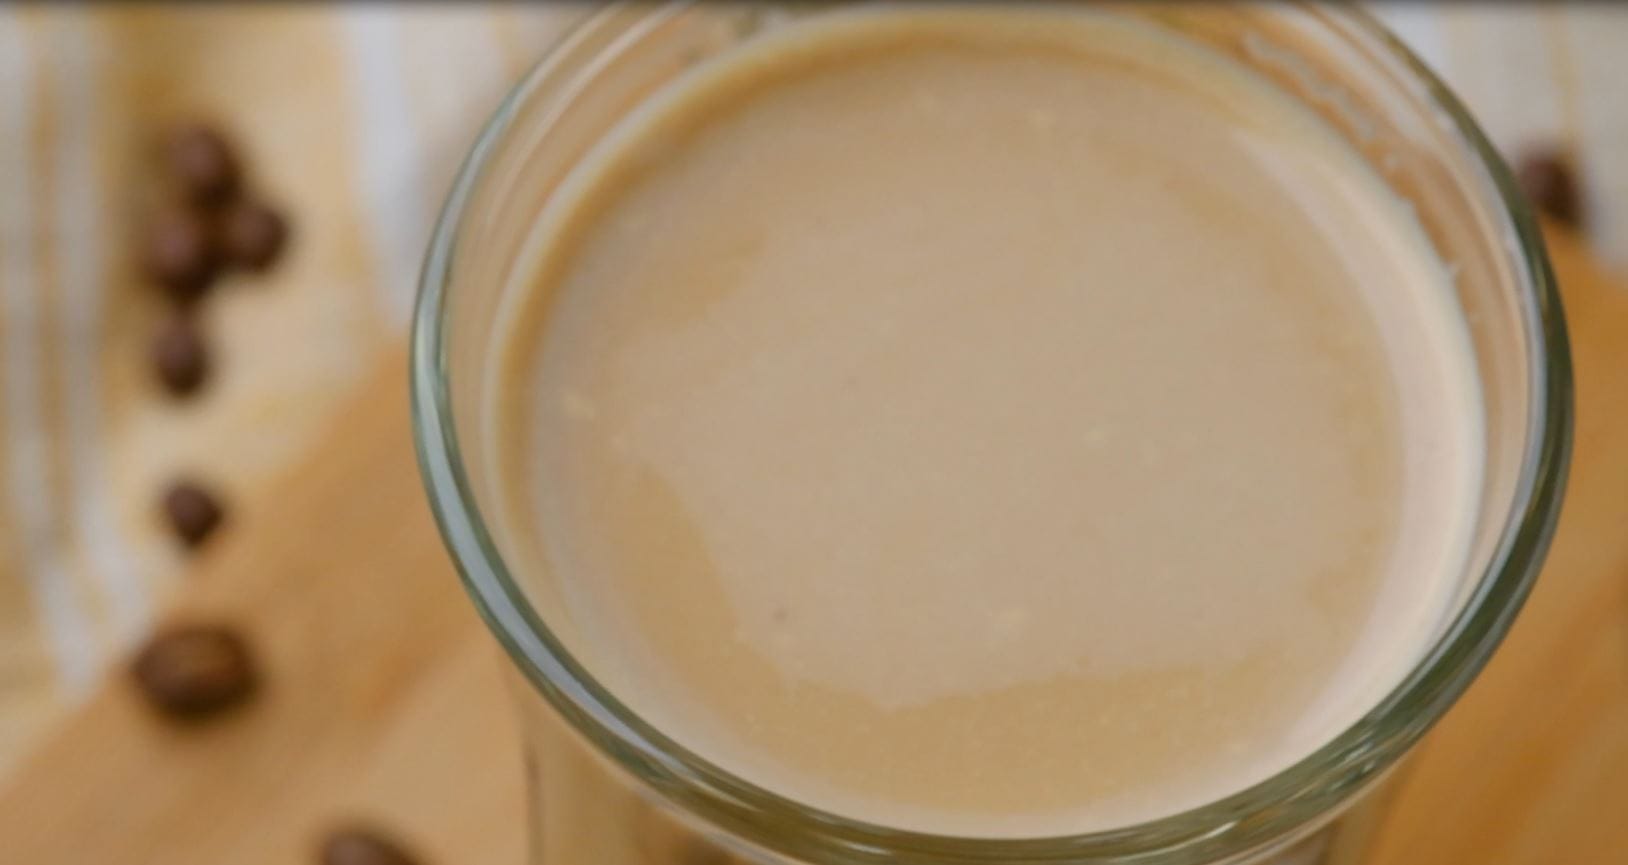
The coffee urn is like a vast coffee carafe, except it also brews the coffee rather than serving as just a container. Typically, a standard coffee urn can brew at least 30 cups of coffee and is built of stainless steel or similar material. The steel composition keeps the coffee hot as the container sits out for long periods.
Unlike a coffee maker, the urn does not have various working parts and spouts. Instead, it has a single nozzle on the front for dispensing, a removable top to fill the device with cold water and insert coffee, and an on-off switch alongside a warming indicator light to tell you whether or not the machine is operational.
Some more advanced coffee urns might feature LED display screens or various buttons to control the heat and times, but standard pots feature the essential coffee maker functions.
How to Use a Coffee Urn
Ultimately, this type of machine looks good and operates easily. It only requires a few steps until you’re well on your way to brewing the largest batch of coffee you ever thought possible.
Pop the Lid Fill With Water
First, you’ll need to remove the lid or open the access point to the water and coffee filter, depending on your coffee urn brand. Once you’ve taken off the cover, you’ll take out the coffee filter and fill the device with water based on the level markings located on either its inside or outside and your desired coffee amount.
Add Your Coffee
While you can guess how much coffee you should add to the coffee urn, keep in mind that one-third cup of ground coffee equates to five brewed cups. Also, two cups of ground coffee equal roughly 25 brewed cups. So, if you have an event with about 50 guests, you can use four cups of coffee grounds to make your required amount of brewed coffee, but it’s probably best to overestimate.
However, you’ll also want to consider your urn’s capabilities. For example, if your machine can only produce 40-cups max, it won’t matter how many cups of grounds you insert for the maximum water level; you will still only get 40-cups.
Begin to Brew
After you’ve added the necessary water and coffee, shut the lid until it locks tightly. From there, you can power the machine on to start the brewing process. A standard coffee urn will take 40 seconds to one minute per cup to brew your coffee.
If you need coffee ready for a meeting or event, it would be best to consider the time it takes to brew your total amount during set-up; otherwise, you might have a line forming in front of the device in anticipation of that caffeine jolt.
Remove the Coffee Basket and Serve
When the machine finishes brewing and is safe to manipulate, you’ll most likely want to remove the coffee basket from inside. Leaving the basket in will make the coffee taste stale or burnt if you leave the machine out for an extended period, so taking the basket out will provide a better-tasting brew.
Cleaning a Coffee Urn
No matter what brand or model coffee urn you have, you’ll want to follow the same cleaning process.
Drain and Scrub
First, if there are still cups of coffee remaining in the machine, drain the liquid completely. Then, spray some hot water into the reservoir with some urn cleaner and scrub with a brush to eliminate any stains and leftover coffee.
Cycle with Water
After you’ve drained the liquid and completed a quick scrub, run the machine through a regular water cycle. Doing so allows hot water to fill the basin and purge any coffee from the dispensing spout so you won’t have difficulty trying to get into the nooks and crannies with a sponge or bottle brush. Repeat this process one more time for a thorough clean.
Remove and Wash the Coffee Filter
Finally, take out the coffee basket and wash it in the sink with either dish soap or specialty urn cleaner. Ensure that you get all of the bean remnants out of the wire mesh and let it dry completely before reinstalling it in the urn.
Conclusion
If you plan to provide coffee for a party, meeting, fundraiser, or other large gatherings, set your standard coffee maker aside and let the coffee urn shine. The device can brew a batch of coffee that your coffee maker can’t compete with.
The coffee urn is arguably easier to use than a typical coffee maker, and it’s not too hard to clean either. Just load your coffee and water and let the urn do its thing.
Happy Caffeinating!