The Keurig coffee maker is a popular machine among hot coffee lovers because of its convenience. You can have a quality coffee in your hands in less than five minutes at just the click of a button.
But what happens when you push that button and the coffee doesn’t appear? You made sure there was enough water in the reservoir, the machine was plugged in, and there was a fresh coffee pod.

"The best coffee pod I've ever tasted"
Yes, we mean that. Finally, specialty coffee for your KCup machine, roasted fresh to your order by our friends at Atlas Coffee in Austin, TX! Get 50% OFF to try it with code ROASTYPODS
So what gives?
You might be experiencing a clogged Keurig. Your first instinct might be terror over not getting your morning cup of coffee, but there’s no need to panic – you’re in the right place. We’ll show you how to fix a clogged Keurig coffee maker!
What You’ll Need
- Safety pin or sharp needle
- White vinegar or Keurig descaling kit
- Dish soap
- Water
Optional:
- Keurig Brewer Needle Cleaning Tool (only available for Keurig 2.0)
Step One

Once you’ve established that your Keurig is clogged, remove the coffee pod and mug from the machine. Unplug the Keurig and move the brewer to a properly lit area where you have full access to the device.
Be sure that your Keurig is also on a steady surface. You will be working closely with the puncture needle, and if you can’t see what you are doing or your machine is wobbly, you could easily hurt yourself.
Make sure your Keurig has thoroughly cooled before moving on to step two.
It might be easy to panic at this step because you need your morning coffee, but the entire process of unclogging and cleaning your machine should take around 10 minutes – maybe 15. You’ll be back to your usual delicious coffee in no time.
Step Two

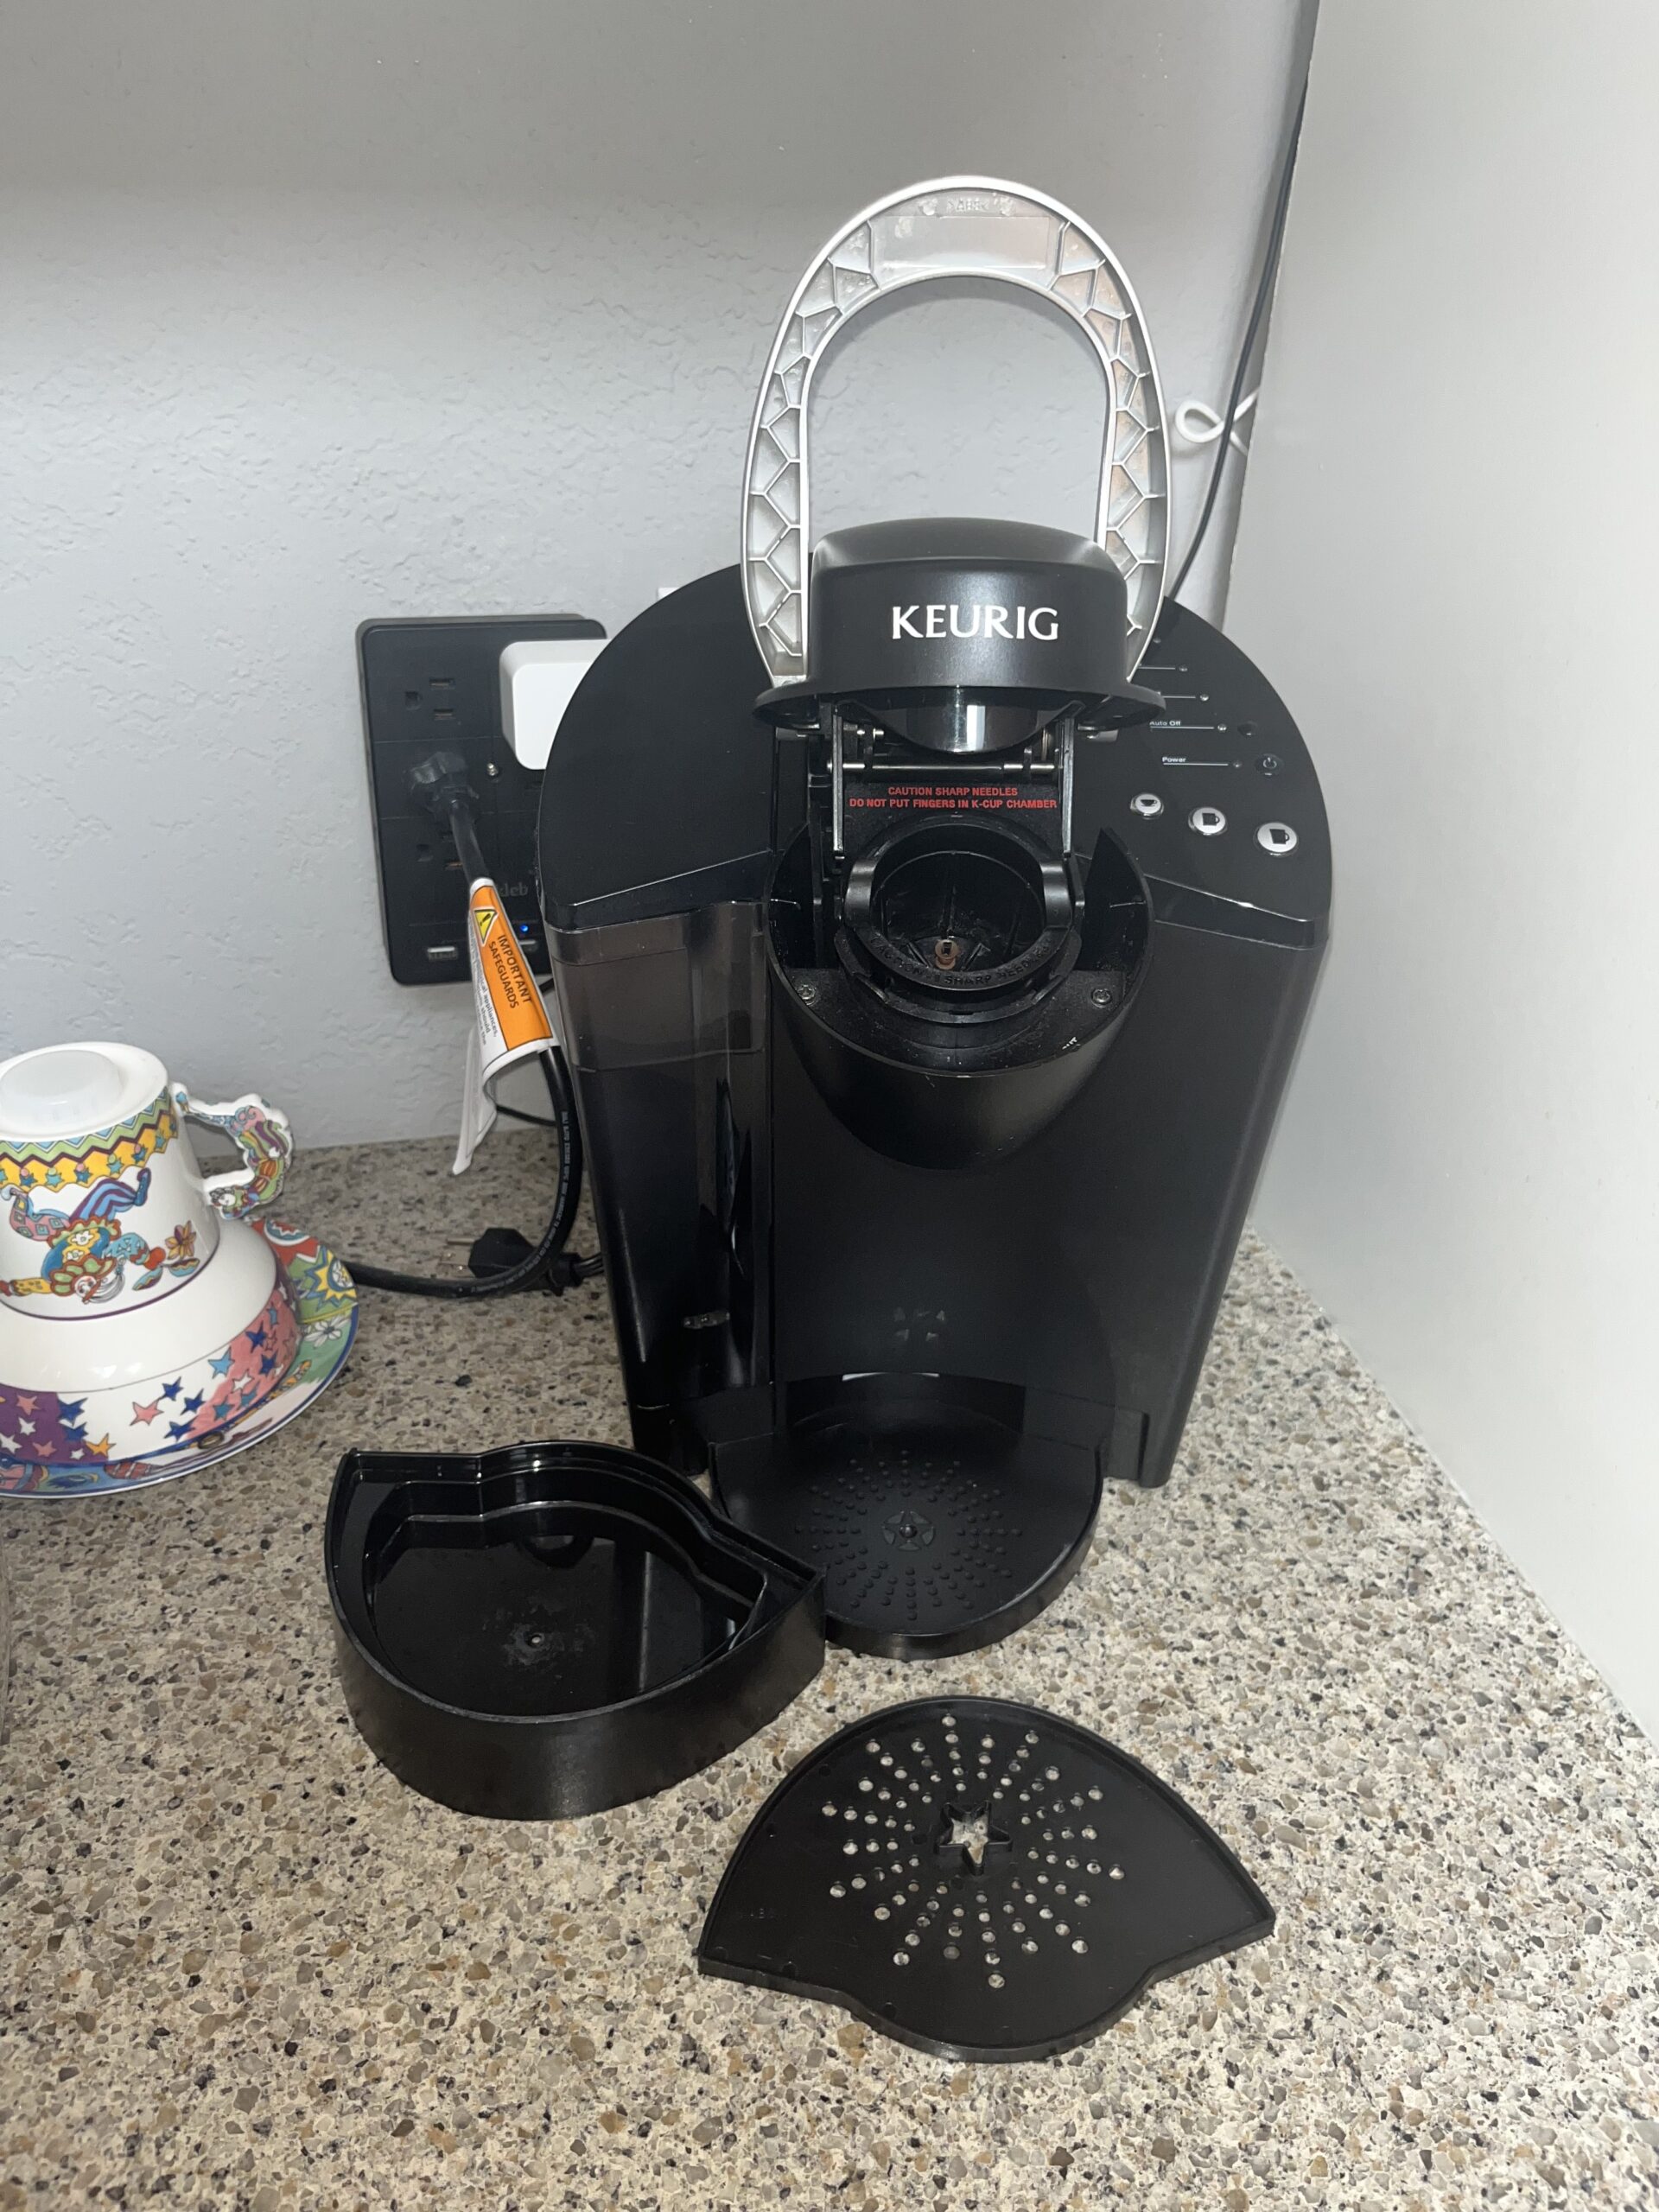
Disassemble your machine and prepare for a deep clean. Remove the water reservoir and drip tray. These items are most likely to break while you’re trying to unclog your Keurig, so they must come out. Be sure to give them a quick wash while they’re removed. Cleaning all parts of your Keurig daily can help prevent further clogging.
Step Three
Now it’s time to fix that clog. Keurig machines get clogged for one of two reasons: a calcium buildup inside the machine or accumulated coffee grounds on the puncture needle.

First, we’ll address the puncture needle. If you have a Keurig 2.0 and will be using a Keurig Brewing Needle Cleaning Tool, skip to step four.
Open the lid of your Keurig as if you were adding a fresh coffee pod to expose the puncture needle. Use the end of your safety pin or needle to carefully scrape out accumulated ground coffee.
Be sure to do this step slowly and in good lighting to ensure you don’t accidentally poke yourself with the puncture needle. Keep scraping the clogged needle until there are no more coffee grounds.
If the coffee grounds are tightly packed and you are having trouble removing them, try soaking the tip of the puncture needle in warm water to soften the grounds. After doing this, you should be able to remove the compacted coffee grounds with ease.
Step FouR
Fill the center of your Brewing Needle Cleaning Tool with clean water and place it in the K-cup holder – it should fit snuggly. Close and reopen the lid five times. Be sure to do this step carefully to avoid damaging your machine.
You’ll know the puncture needle is unclogged when you see coffee grounds in the cleaning tool.
Step Five
You’re halfway through unclogging your Keurig. Next, you need to descale the machine. If you do not have a Keurig descaling kit and plan to use white vinegar instead, skip to step five.
Read the instructions on your Keurig descaling kit box to find the correct amount of water to add to the water tank with the descaling solution.
Connect your water reservoir and drip tray back to the machine and place a large mug on the drip tray. Run a rinse cycle by choosing the largest brewing size with no coffee pod in the machine. Repeat until the water reservoir is empty.

Fill your water reservoir to the max line with fresh, cold water and repeat the rinse cycle 6-12 times.
Step Six
Fill your water reservoir with a mixture of 50/50 water and white vinegar. Connect your water reservoir and drip tray back to the machine and place a large mug on the drip tray. Run a rinse cycle by choosing the largest brewing size with no coffee pod in the machine. Repeat until the water reservoir is empty.
Fill your water tank with water and repeat the rinse cycle 3-5 times.
Step Seven

You’re all set! Your Keurig is now unclogged and ready to make your morning coffee once again. Regular maintenance is essential to prevent your Keurig machine from clogging again and prevent coffee grounds or calcium deposits from accumulating inside your machine.
Pro tip:
If you notice your coffee tastes a little bit like white vinegar or a cleaning solution, run a few more rinse cycles with fresh water to ensure your machine is thoroughly rinsed.
Frequently Asked Questions
How do I know when my Keurig is clogged?
If you’re a heavy coffee drinker that takes your morning coffee as seriously as I do, you’ll be able to tell when even the slightest thing is off.
If you are a more casual coffee drinker, some things to look out for include a louder or longer than usual brewing time, a partially brewed cup, or a weaker than usual coffee. You might also experience your Keurig simply not brewing cups of coffee after pushing the brewing button.
What does descaling mean?
Your Keurig accumulates calcium deposits, also known as scale, on the inside of the machine over time. The buildup of calcium deposits is perfectly safe but can affect the taste of your coffee and cause issues with your Keurig while brewing – like a clogged machine. Descaling is the process of removing these calcium deposits and can be done using either a white vinegar water solution or a Keurig descaling kit.
How often should I descale my Keurig?
Keuring recommends cleaning and descaling your machine every 3-6 months to ensure it operates at its greatest capacity and your coffee tastes great. Alternatively, some Keurig machines also have a descaling light to tell you when the machine needs to be descaled.
Cleaning your machine does not mean just descaling it. It’s equally important to clean your water reservoir and drip tray regularly to keep your coffee maker working properly.
Do I need to purchase specific Keurig descaling products?
The Keurig descaling kit or other cleaning products are great additions to your cleaning routine, but they are unnecessary for your coffee machine’s health.
If you’re anything like me, you struggle to plan ahead and definitely did not have the foresight to purchase a Keurig descaling kit before tragedy struck. Luckily for you (and me), white vinegar works just as well and is probably already in your kitchen.
Happy (unclogged) Caffeinating!


