What’s your favorite coffee beverage of choice? A latte, a cappuccino, a mocha, a cortado or just a long black?
According to the statistics, Americans consume 400 million cups of coffee per day. And only 35% of people prefer to drink it black.
Why do milk and coffee form such a perfect match?
Milk compliments and brings out the flavors in coffee. And there is science behind it.
During the steaming process, the high pressure of the steam causes the fats in milk to expand and create foam. Further, the protein keeps the air bubbles stable and lactose enhances the sweetness.
While steaming milk can seem easy, it’s not easy to do it well.
Do you want to know the secret behind barista’s luscious creamy texture in your flat white?
Or are you looking for alternative ways of steaming your milk without the steam wand?
This article will tell you how to do both.
Frothing vs Steaming
There is a difference between frothing and steaming milk.
During the steaming process, the air is pulled into the milk while heating it at the same time, with small bubbles that are incorporated into it, creating a creamy texture, often called microfoam.
On the other hand, frothed milk creates large air bubbles resulting in a big mound of fluffy foam that can sit on top. There is no right or wrong between the two and everybody has a preference. But if you’re looking for that rich and creamy mouthfeel, steaming milk is the best way to achieve it.

How to Steam Milk Like a Pro
Even though the technique for steaming differs slightly depending on whether you’re making a latte, a flat white or a cappuccino, the basic steps remain the same.
Step 1: Fill the Jug With Milk
Pour the milk into a metallic milk pitcher designed for steaming. It’s important not to use too much since it will increase its volume. It is generally recommended to pour your cold milk just under the V nudge of the jug.
Step 2: Milk Stretching
The next step is submerging the tip of the steam wand just below the surface of the milk. This is when you start pulling the air into the milk, which is where the well-known hissing sound comes from. How long to keep the steam wand in this spot depends slightly on what beverage you are preparing but it should take generally as little as 5 seconds. During this time the fat in milk expands to create foam.
Step 3: The Spin
After you’ve pulled enough air into your milk and stretched its volume, move the steam wand further below the surface. Be careful not to move it too far, only aim for as little as 1/5 of an inch. Tilt the jug slightly and try to find the “sweet spot” that would spin the milk in a whirlpool and fully incorporate the bubbles into the rest of the milk, finish heating it and creating that creamy texture.
Step 4: Rest and Polish
As soon as the milk reaches the temperature of 140F, or becomes too hot to touch, stop the steaming process. Tap the jug gently to get rid of some small bubbles and swirl the milk around. It should look shiny and creamy like melted ice cream.
Step 5: Pour
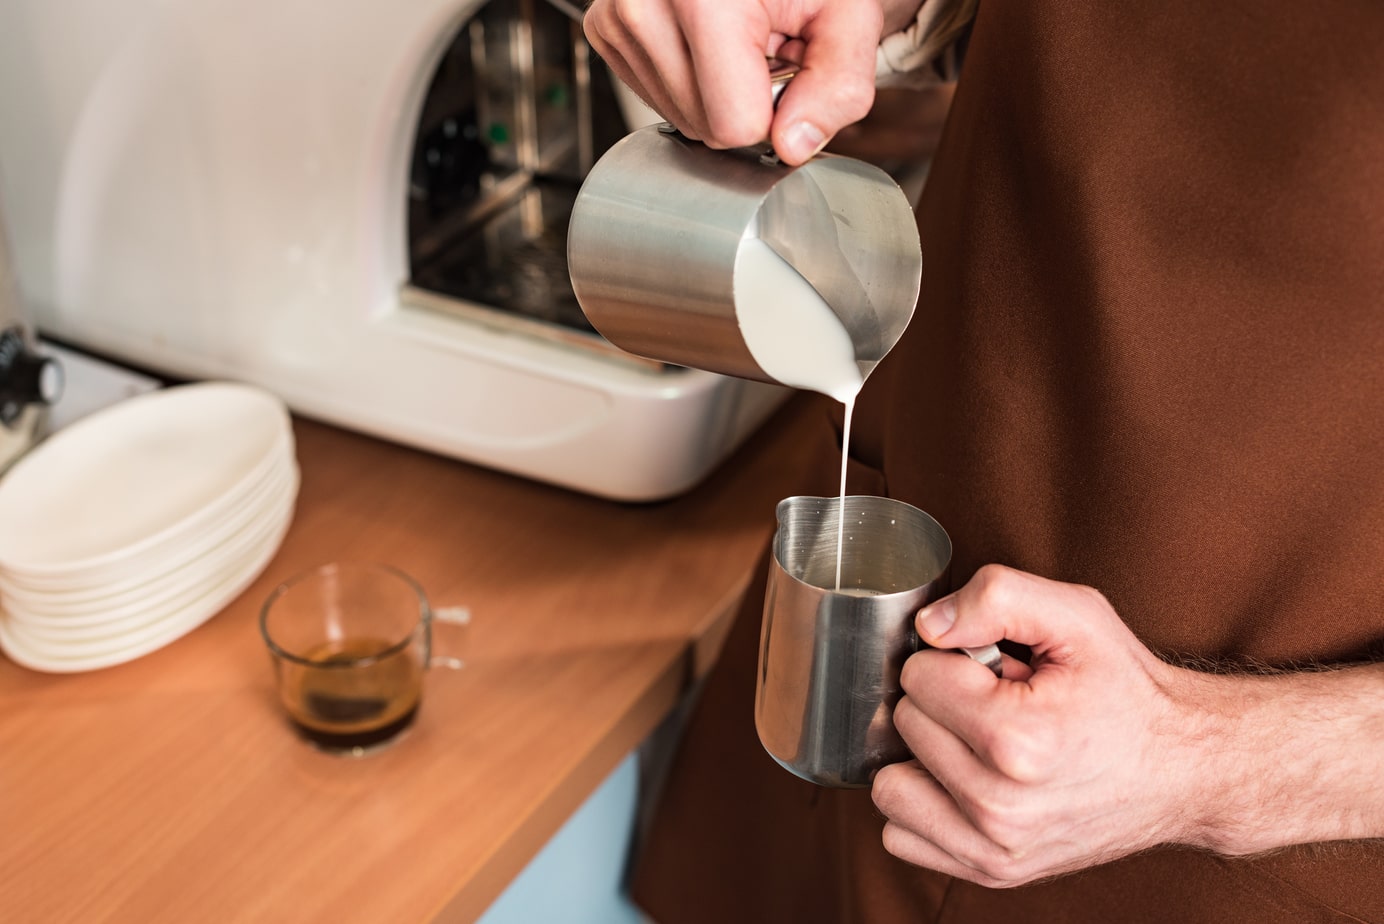
The pour consists of two phases. Since most of the foam is on top, the first pour should be aimed to dive into the espresso and incorporate the creamy milk with your coffee. The final pour glides the microfoam on top and creates latte art. But it takes a lot of practice before you can pour a perfect tulip or a rosetta.

Common Mistakes
As mentioned above, even though the steaming process sounds simple, it is hard to get right. If you avoid these most common mistakes, you are much more likely to see the beautiful silky foam.
Pulling air for too long
The initial process of pulling air into the milk is really quick and happens within seconds. As soon as you hear the screeching sound of the milk, you’re pulling air for too long and this will cause big bubbles to appear and ruin your foam.
Pulling air too late
Another common mistake is trying to pull air too late. The magic happens at the beginning and as soon as the milk is warm, creating the foam is much more difficult.
Overheating the milk
What separates good baristas from the great ones is being able to tell the right temperature of steamed milk. As soon as the milk gets too hot, the proteins in the milk break down and destroy the perfect bubbles as well as the flavor.
Not creating a whirlpool
Failing to find the sweet spot that creates a whirlpool causes that the milk is not mixed properly, failing to give you that creamy texture.
Waiting for too long after steaming
Another tip is to make sure you keep moving the milk pitcher as soon as you remove it from the steamer. This ensures that the foam doesn’t separate from the milk.
What are the essential ingredients to create perfect milk for your coffee?
Using fresh and cold milk helps to create optimal texture. Additionally, full-fat milk is usually recommended for microfoam and skim milk if you prefer frothy milk.
How to steam milk without a steam wand?

Don’t have an espresso machine with a steam wand? Good news. There are other ways in which you can steam milk to create your morning cappuccino.
We’ll run through some of the ones that require basic equipment and some of them that can be improvised with the household items that can be found in every home.
Automatic Milk Frother
This is the second-best option for frothing milk if you don’t have an espresso machine with a steam wand. It is also the only option that doesn’t require you to preheat the milk as the other options do. You can even choose whether you want to have your milk hot or cold and the frother will do the whole job for you.
Handheld frother
A handheld frother is a cheap option that is easy to use, fast and easy to clean. However, be ready to compromise on milk texture and don’t expect any latte art. As the name suggests, it can create a lot of froth but not so much silky foam. All you have to do is submerge the frother in milk and turn it on. The milk will significantly increase in volume creating big bubbles.
French Press
Apart from making coffee, the French Press can also froth your milk! Now that’s what we call versatility. After you’ve preheated your milk, pour it into your French press and repeatedly push and pull the plunger up and down until the milk doubles in volume and creates a microfoam. Be careful not to use too much milk so you save yourself the cleanup.
Stovetop
You don’t have any of the equipment mentioned above but you still don’t want to give up your latte? Don’t panic, you can create frothed milk even on a stovetop.
Simply heat it gently and use a balloon whisk (the same one you would use to whisk eggs) and beat it rapidly until you reach a frothy consistency. You can also use a hand blender but you are risking a kitchen disaster with that technique.
Microwave
You can either put the milk into a mason jar with a lid on and shake it vigorously before heating it in the microwave. Or you can heat the milk first and then use the pulling technique where you pour it from one jar to the other one until you reach a frothy consistency.
No matter your barista skills, whether you are a beginner who just wants some froth in their coffee or you are advanced and familiar with the steam wand and latte art, there are multiple ways of how to create milk for your latte.
Whichever technique you choose, make sure you follow the basic tips and avoid the most common mistakes and you have the recipe for success.
Which one will you try to make next?


