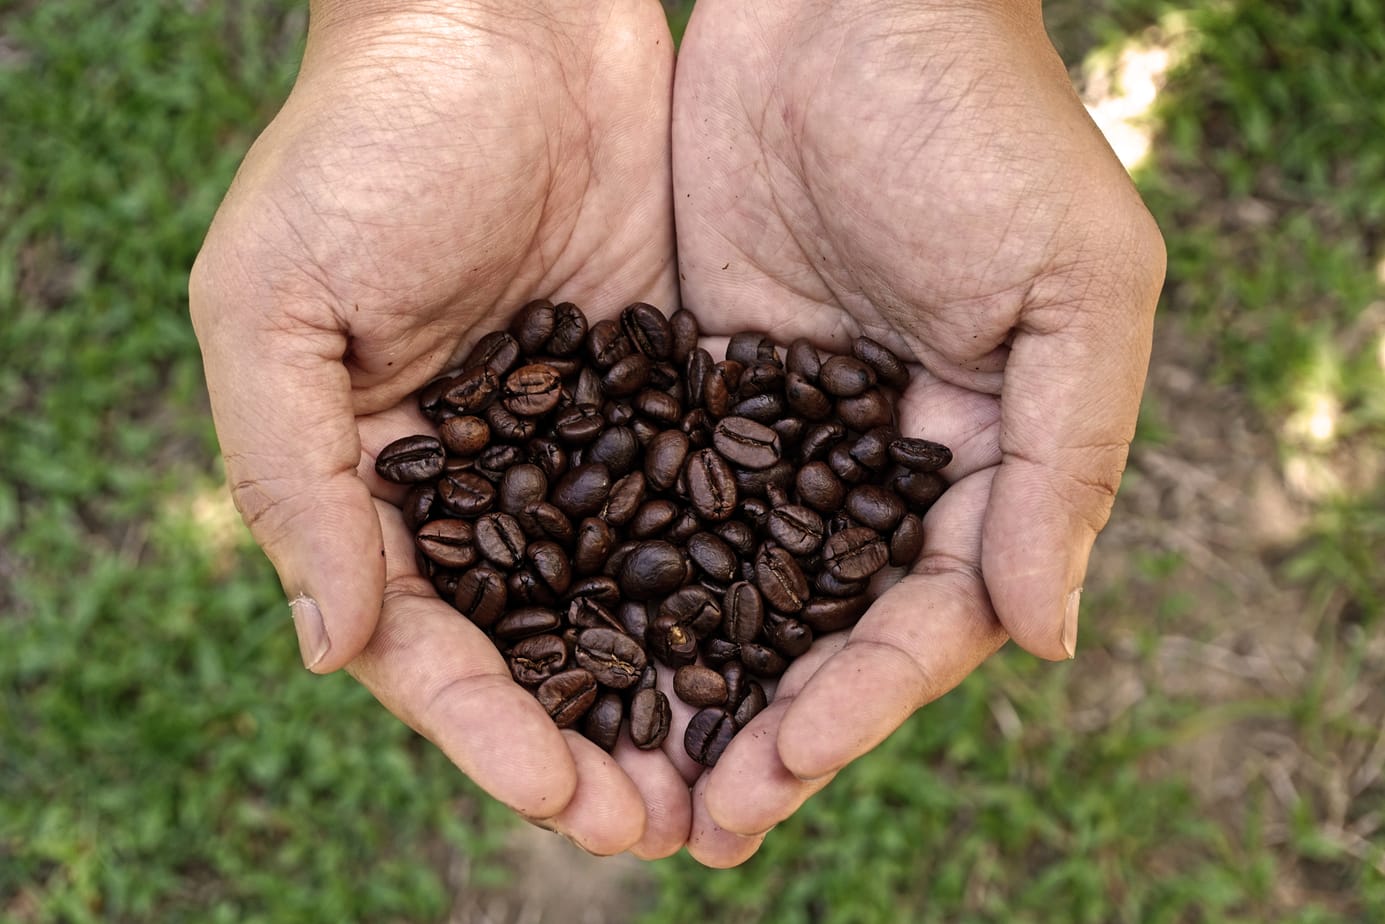
The fresh smell of the air, millions of stars overhead, and great company around a warm fire are some of the best parts of camping. But when the cold, damp morning rolls around, nothing can warm you up and get you moving quite like a steaming morning cup of coffee can.
Tens of millions of Americans go camping annually, and with a steadily increasing number of U.S. adults enjoying a cup of joe every day, it’s safe to assume that at least a few avid outdoorsmen are among the java-obsessed. And they’ll probably agree: skipping out on flavorful coffee isn’t an option, not even when you’re away from home.
Get a FREE first bag of coffee from our friends at Atlas Coffee Club when you subscribe. Enter your email to get the deal.
Whether you’re a seasoned camper roughing it on the side of a mountain or glamping in a three-bedroom RV with a flat-screen television, you’ve got several options for making a satisfying cup of camping coffee. We’ve got all the information you need below.
Note, however, that you’ll need coffee grounds and clean water to use any of the camping coffee methods we’re sharing, so be sure you’ve got access to both before you head out.

Camping Coffee Must-Haves
The destination is programmed into your GPS, the tent is in your vehicle, and your backpack is stuffed with all of your camping and hiking gear…except for your coffee essentials.
You need a specific set of tools to brew your morning cups of coffee on a camping trip. That’s why we’ve compiled this list. Anyone who can’t get going without caffeine will want to have these camp coffee must-haves nearby.
Here are a few things we recommend:
- Your coffee brewing method of choice (No worries if you’re unsure of what to bring along; we’ve got a few suggestions below)
- An airtight coffee canister to keep your coffee fresh until you’re ready to brew
- A portable coffee grinder*, because freshly ground whole beans usually trump pre-ground coffee in the flavor department
- A stainless steel mug or coffee thermos
- A travel kettle and heat source
- A miniature coffee scale
- Coffee, of course!
If you don’t want to assemble all of the above supplies yourself, there are plenty of already-made camp coffee kits available for you to purchase.
The Pakt Coffee Kit, for example, is a popular choice for coffee connoisseur who likes to spend their weekends in the woods. It’s got everything you need for brewing delicious coffee on the go: an electric kettle with a dual voltage power base, a 12-ounce travel mug, a coffee grounds container, a collapsible dripper, a coffee scoop, and a reusable stainless steel filter.
Camping Coffee Hacks
Instant Coffee
Put those packets of instant coffee in the back of your cabinet to good use on your next outdoor excursion. Dissolving the dried ground coffee in water is a quick and easy option for outdoor brewing.
Just use a fire, camp stove, or another heat source to warm up the water in your kettle and pour the water into a mug. Then, add one or two tablespoons of instant coffee granules and stir until they dissolve. You can use this stuff if you’re an iced coffee drinker, too; skip out on heating the water and pour it into your cup while it’s still cold.
Bring a box of Waka instant coffee along on your next trek into the woods. It’s a great option for camping, and each box contains eight packets of carefully roasted 100 percent arabica coffee beans that were carefully roasted, ground, brewed, and freeze-dried before making their way into your cup.
Each packet makes a single serving, and there are Indian, Colombian, and decaf options to choose from depending on your preferences.

Waka Premium Instant Medium Roast Coffee
Check PriceCowboy Coffee
If you’re a camper who carries minimal gear and longs for the simple things in life, try making your coffee the cowboy way. The cowboy coffee method, also called the sink down method, is probably the simplest way to brew with limited resources; the only things you’ll need are a vessel to heat water in, a heat source, water, and your favorite coarsely ground coffee.
The first step of making cowboy coffee is to fill your kettle with water and bring it to a boil. Next, remove the water from the heat and let it cool enough to stop boiling; this should take about 30 seconds.
Then, stir two tablespoons of ground coffee per serving into the water. You should hear a sizzle when the coffee hits the just-boiled water. You may even see a little foam form.
Let the drink rest for two minutes. Then, stir the mixture again before letting it rest for two more minutes. When the coffee grounds settle to the bottom, pour the brew into a mug. Be sure to pour slowly; this keeps too much grit from getting into your cup.
Scoop Top Method
If you’re intrigued by the sink-down brewing method but find yourself a bit put off by the idea of coffee grounds floating around in your cup, try the scoop top method.
This method of brewing coffee is a lot like the one outlined above. Begin by boiling water in a kettle or pot. Then, remove it from the heat source and let it cool for 30 seconds or so.
Then, stir a few scoops of coarse ground coffee into the water. Let the mixture simmer over low heat for a few minutes, then skim the grounds off the top of the steeped joe with a spoon.
Now, you’re ready to sip a cup of cowboy coffee, and you don’t need to worry about any gritty grounds touching your taste buds.

Overmont Aluminum Camping Kettle 42oz
Check PricePercolator
Don’t worry if neither instant coffee packets nor the cowboy method sounds appealing to you; there are still plenty of other coffee brewing methods you can try on your next camping trip.
Take the percolator, for example. An old-school enamel percolator can be used over a campfire, and it doesn’t require a lot of extra accessories to get the job done. All you need is your favorite freshly ground coffee, water, and, of course, the percolator itself.
The way these portable method works is pretty cool. As your water heats, it’s pushed through a tube until it showers over your coffee grounds. Then, it trickles back down into the kettle. This cycle continues until the water becomes black coffee.
Brewing with a percolator is reasonably simple. Open the lid, then remove the tube and basket insert. Fill the kettle with a few cups of water, and place two tablespoons of coffee grounds per serving into your basket.
Keep the grounds out of your coffee by using a round paper filter in the percolator’s basket. Next, put the tube and basket back inside the kettle and place the lid on top. Set your percolator on your heat source.
If it has a clear top, you’ll be able to watch the water go from clear to brown as it perks. But even if you don’t have a good view, you should let your coffee perk for eight to 10 minutes. Let the brew rest for two minutes before serving; this allows any grounds that sneaked into your coffee to settle before you pour.

Coleman 12-Cup Stainless Steel Coffee Percolator
Check PriceCamping Drip Coffee Maker
This option is about as close as you can get to the drip coffee maker sitting on your counter at home. Not only does this camping coffee maker look like the dripper you have at home, but it works a lot like it, too.
Just pour fresh water into the back reservoir, add high-quality coffee grounds into the front filter basket, and turn the machine on. In about 10 minutes, your brew will be ready!
The coffee maker‘s base has two legs that rest in front of and behind the burner. This design allows you to keep an eye on the heat as your coffee brews and makes it easy for you to adjust it accordingly.
You can also use this coffee maker as a kettle to quickly rehydrate dried foods or heat water for tea or hot chocolate.
Here’s something you should know before you rush out and buy one of these brewers: you shouldn’t plan to rely on this method if an open fire is your preferred source of heat. They’re specifically designed to sit on top of a camping stove burner.

Coleman Camping Coffee Maker with Glass Carafe
Check PriceMacGyver Coffee
The only tools you’ll need for this camping coffee method are a heavy-duty rubber band and some cotton cheesecloth. Oh, and patience. You’ll also need some patience.
Start by placing the cheesecloth on top of your cup. Fold it over the edge of the vessel, then use one hand to hold it in place. Use your other hand to press the center of the cloth a few inches down into your cup; you’ll end up with something that looks like a bowl.
Use the rubber band to secure the cheesecloth filter to the cup before adding two tablespoons of ground coffee into the filter.
Heat some water to boiling in a pan or kettle, then let it cool until it’s no longer boiling but still steaming hot. Soak the coffee grounds with a bit of hot water, then let the coffee bloom for a minute. After that, slowly pour water through the grounds until the cup is full. The slow pour is crucial here; you’ll overflow the filter if you move too quickly.
When the mug has filled, carefully remove the rubber band and cheesecloth. Now you’re ready to sip your morning (or afternoon…no judgment) cup!

Cotton Farm Grade 100 Cheese Cloth - 18 Sq Ft
Check PriceFrench Press
When you think of coffee makers for camping, your mind probably doesn’t turn to fancy glass and copper French presses right away. The thought may not even occur to you at all! But because some French press coffee makers are made from durable materials like double-walled stainless steel or plastic, even the most dedicated coffee snobs can brew incredible camping coffee.
If you choose a press made of plastic, be sure it’s of reputable origin and free of bisphenol-A (BPA); this guarantees your brew is safe to drink.
To make French press coffee, add one tablespoon of coffee grounds per cup to the press. Then, boil one cup of water per serving before letting the water cool for about 30 seconds. Pour half of the water over the grounds and let the coffee bloom for one minute.
Add the rest of the water, then let the coffee steep for at least three minutes. Longer steeping times make the coffee stronger.
Gently press the French press plunger down as far as it will go. Then, there’s nothing left to do except pour the brew into a mug and enjoy every sip of your French press camp coffee!

SterlingPro 1L Stainless Steel French Press
Check PriceCoffee Bags
Admittedly, lugging a French press or other camping coffee pot isn’t the easiest thing to do, especially for ultralight or lightweight hikers. But have no fear — keeping it light doesn’t mean leaving your beloved coffee at home.
Bring individual coffee bags to brew teabag-style. This saves space in your bag and guarantees you get your caffeine fix.
The best news is, you probably already have everything you’ll need to make these coffee tea bags at home. Just fill a paper coffee filter with fresh ground coffee, then twist it to a close. Use a piece of string to tie the coffee pouch closed, then repeat each step until you have enough joe to last your entire trip.
When you’re ready to use one of the coffee bags, submerge it in hot water and let it steep for about five minutes. Then, you’re ready to enjoy your brew.

Melitta Basket Coffee Filters, Pack of 600
Check PriceSingle Serve Filter
Get the portability of the MacGyver method by purchasing a single-serve filter — no rubber band necessary.
Primula’s single-serve filter is one of the most portable picks on this list, as it lies completely flat when it’s not in use. Other filters take up slightly more space. It’s probably the most excellent choice for brewing coffee when you’re backpacking.
Follow the pour-over coffee method to use this filter. Start by pouring coffee grounds into the filter. Then, boil water in a kettle and let it cool until it’s hot but no longer boiling. Slowly pour the water over the grounds. You might want to pause and let the coffee bloom for a bit before adding the rest of the water.
For a little extra zip in your coffee, lift the filter above your cup and squeeze the remaining liquid and coffee oils into it. Drink immediately.

Primula Brew Buddy Portable Pour Over Filter
Check Price
Collapsible Silicone Pour Over
A collapsible silicone pour-over filter is another beautifully portable option for brewing drip coffee while camping. Like Primula’s product above, Kuissential’s reusable filter collapses into a flat disc when it’s not in use.
A silicone filter cone is a worthwhile option for your next camping trip because the material doesn’t hold odors or leach chemical tastes. Plus, it won’t break when it’s packed with the rest of your camping gear.
Pop open this cone, then set the bottom ring on top of your coffee mug. Place a #2 or #4 paper coffee filter inside before adding two tablespoons of medium-coarse ground coffee. Pour a few ounces of water — just enough to saturate the grounds — then let the coffee bloom for a minute before pouring the remaining water.
Then, remove the cone and drink a mug of fresh coffee before you hit the trails. Just don’t forget to rinse and wipe the filter before collapsing and packing it into your bag.

Kuissential Silicone Collapsible Pour Over Dripper
Check PriceSubmersible Filter Cup
A submersible filter cup is similar to other pour-over products. The difference is that the grounds are submerged in your coffee cup with this filter. This little canister looks like a lidded reusable coffee filter.
It has a little tab on each side of the lid that rests on top of your cup, leaving the canister itself inside the vessel to steep the joe.
Fill the submersible filter cup with coffee grounds (or tea leaves if you’re not a coffee fanatic). Secure the lid, then place it on your mug. Slowly pour hot water over the grounds until they’re saturated, then allow the coffee to bloom for a minute before adding the rest of the water through the filter. That’s all — it’s as simple as that!

MSR Mugmate Reusable Coffee and Tea Filter
Check PriceAeroPress
If there were an award for the method of coffee brewing with the easiest cleanup, the AeroPress would win hands-down. The portable coffee maker can create up to three cups at a time, and once you finish using it, all you have to do is dump the grounds and rinse the brewer.
The BPA-free plastic makes the AeroPress both safe and durable. Unfortunately, it’s far from being the least bulky camping coffee maker. In short, if you’re looking for something ultra-compact, this isn’t it. But you can store the press and all its accessories in a zippered bag together to make storage even more efficient.
To use your AeroPress coffee maker, put a filter in the bottom cap and tighten it onto your press. Put two tablespoons of coffee into the press’s larger tube (this is called the brewing chamber) and set it on top of your mug. Boil water, then let it cool slightly before pouring it into the chamber.
Use the paddle to stir the coffee ground and water mixture for a few seconds. Then, insert the plunger into the chamber. Slowly apply downward pressure until you can’t go any farther.
Pro-Tip: Choose a sturdy mug that won’t tip over when pressing the AeroPress plunger down.

AeroPress Original Portable Coffee Brewer
Check PricePour-Over Travel Mug
Though there are plenty of options for camp coffee brewing to choose from, the pour-over travel mug may be the most efficient of all. Why? Because the coffee brews right inside of your cup, thanks to the included metal filter!
The Coffee Gator mug is made of vacuum-layered stainless steel; rest assured your freshly brewed coffee will stay hot for a long time. Plus, it’ll hold up well under the abuse of being hauled around with the rest of your camping gear.
Place the filter on your pour-over travel mug, then add one or two tablespoons of coffee. Soak the grounds with hot water before letting the joe bloom for a minute. When the bloom time has passed, pour the rest of the liquid.
Remove the filter before placing the lid on your travel mug, and you can sip your joe as you enjoy the day’s outdoor activities.

Coffee Gator 20oz Vacuum Insulated Mug
Check PriceAnd one more thing…
Use whole coffee beans! Most coffee connoisseurs think the best, freshest-tasting brew comes from whole beans rather than the pre-ground stuff. So, if you’ve got space for it in your pack, bring a manual coffee grinder so you can break your beans down right before brewing them.
A quality manual grinder is a worthy addition to your outdoor coffee experience, especially since they require no electricity and can be used anywhere.
One of our favorites comes from 1Zpresso. The Taiwanese brand’s product uses burrs instead of blades, ensuring every coffee bean is evenly ground. Since the grinder comes in a wide variety of models, there’s a 1Zpresso grinder perfect for all kinds of coffee lovers.
Check out our full review of this excellent option here to decide whether or not the tool needs to be a part of your camping experience.

1Zpresso JX Aluminum Manual Coffee Grinder
Check PriceFrequently Asked Questions
How do you make iced coffee when camping?
What if you’re someone who thinks coffee tastes better cold? How do you get your iced coffee fix on your camping trip?
The easiest way to enjoy iced coffee on a camping trip is to prepare it ahead of time and bring it with you. Use your trusty cold brew maker to brew java the night before you leave, and bring your steeped coffee to the campsite with you in an airtight container.
If pre-brewing isn’t an option for you, there are a couple of other ways you can make iced coffee. You can also use instant coffee grounds to make a cup of cold coffee. Just pour the granules into cold water instead of hot.
You can also use any method mentioned above to brew your coffee, then let it cool for a few minutes before adding ice to it.
How do you make coffee while camping without a fire?
The easiest way to make coffee without a fire is to invest in a quality camping stove. A little gas stove (or an electric heater, if you have access to electricity) will be your saving grace when you find yourself wanting to make strong coffee at your campsite.
What do you do with coffee grounds when backpacking?
If you’re an avid outdoorsman, you know the number one rule of camping is to leave no trace. So, how do you apply that to coffee ground disposal?
If there’s a trash can nearby, the best thing you can do is throw the used grounds into it. But just in case there isn’t a designated trash area near your campsite, and you’re unsure of when you’ll come across one, you should carry a sealable bag or container in which to store your grounds until you can toss or compost them.
How do you make coffee in a camper without a coffee maker?
If you’re asking this question, you’re in luck! We’ve got detailed instructions for making a strong brew without a standard drip maker or espresso machine here. Even if you find yourself without your typical brewing setup, you can still satisfy your coffee craving.
How do you make a camping latte?
Some of us can’t go more than a day without enjoying a creamy, foamy latte. When you’re at home with your espresso machine or within driving distance of your favorite coffeehouse, that’s not a problem.
But when you’re in the middle of the woods for the weekend, well, things get a bit harder. But difficult doesn’t mean impossible; you can still enjoy a good latte in the great outdoors!
You’ve got a couple of options here. The easiest thing to do is bring a battery-powered handheld milk frother along with you. However, if your budget is a bit bigger and you have access to a campfire stove, consider investing in a stovetop milk steamer like this one from La Pavoni.
You can also use a French press to create the frothy bubbles necessary for a latte, but you’ll need to be sure to heat the milk in a pot or kettle first.
What’s the best way to make coffee while camping?
And now for the answer to the million-dollar question: what’s the best way to make coffee while camping? Drum roll, please.
Bringing along a couple of instant joe packets — and some means of heating water, of course — is the easiest way to enjoy decent coffee before spending the day hiking the trails.
However, if you’re the type of person who needs control of the brewing process, you might consider using a pour-over filter (see the collapsible one we mentioned above) to make a cup of camp coffee.
You might have to go without a hot shower while you’re camping, but thank goodness, you don’t have to give up your hot coffee. Whether you’re backpacking in Nepal, sleeping on the side of a mountain, or glamping in an RV, you can still brew fresh, hot coffee every day.
The next time your adventurous spirit calls you into the wilderness (or to the designated camping area at your nearest state park), try one of these simple methods of making your morning coffee while in the great outdoors.
Happy Caffeinating!