Here at Roasty, we believe that travel is no excuse to deprive yourself of great coffee. Roam if you want to, but a few key items that fit easily into a suitcase can make the difference between coffee and whatever that stuff at the motel is.
Get a FREE first bag of coffee from our friends at Atlas Coffee Club when you subscribe. Enter your email to get the deal.
What You’ll Need To Build a Coffee Travel Kit:
- Freshly roasted coffee beans in a tightly sealed plastic container
- A compact burr hand grinder
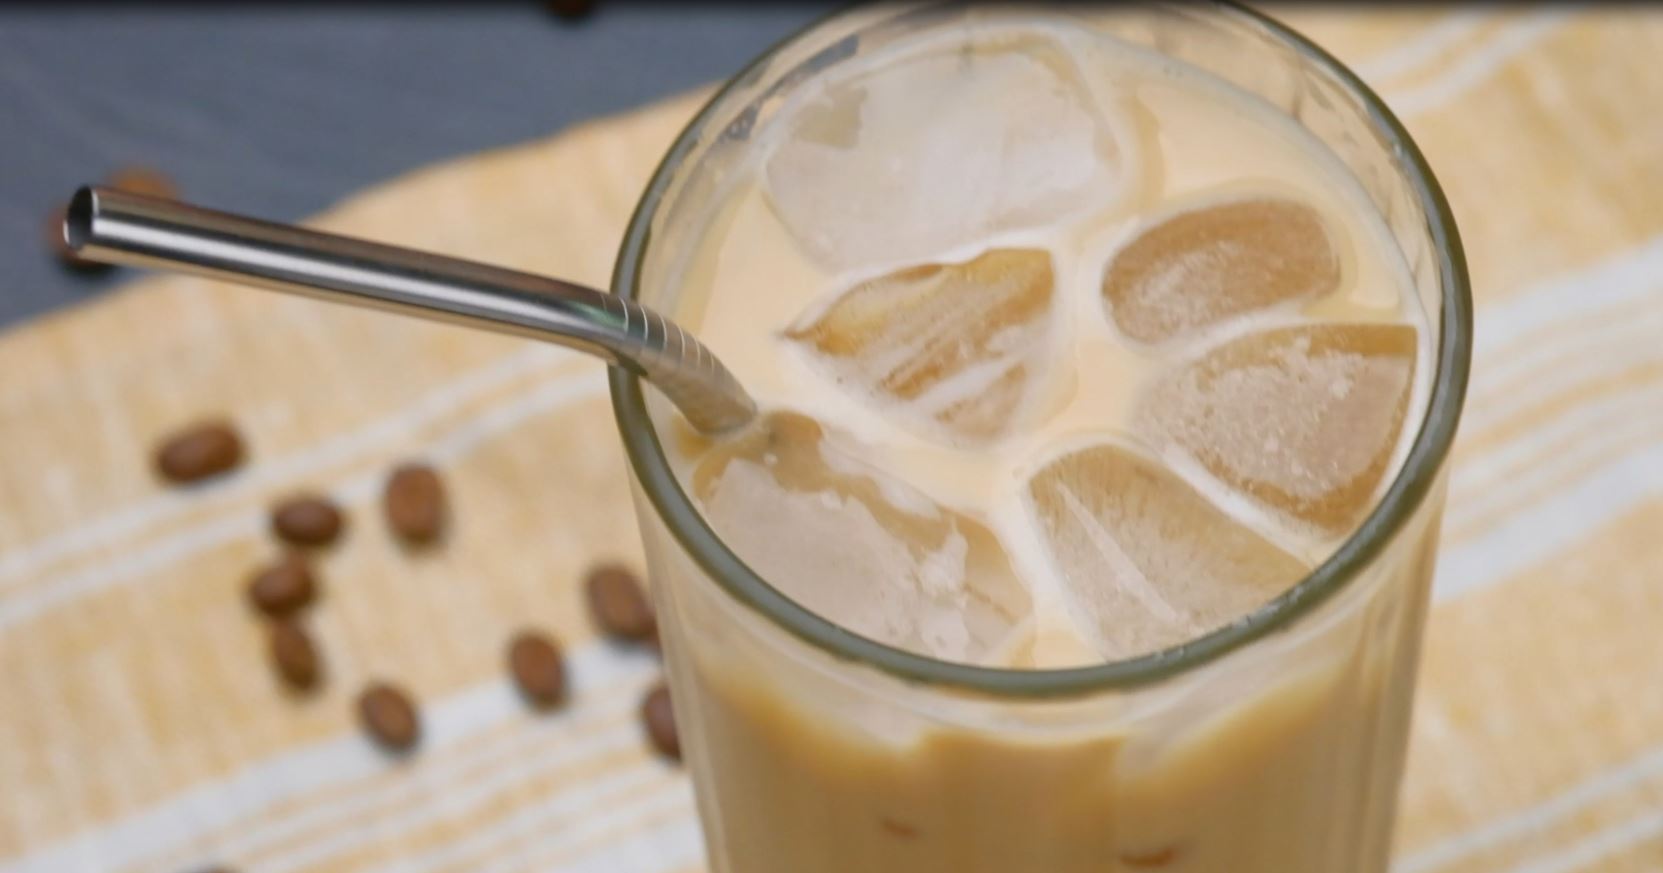
- An Aeropress (and filters, in a Ziploc bag)
- A Yeti 20oz Tumbler (sturdy enough for the AeroPress, and keeps coffee hot for hours)
Introduction to the Aeropress
A more modern brewing method, the Aeropress has spiked in popularity for many reasons. It’s painless to carry, it’s simple to use, and it’s easy to clean.
The Aeropress relies on heat and pressure to create a decent cup of coffee. As the hot water emmerses the coffee, the pressure from the design of the container helps extract flavor from the grounds.
Brewing With an Aeropress
Now that we’ve gotten an introduction to the Aeropress, here’s a quick breakdown of how to create a delicious cup of joe on-the-go with it. we’ve attached a video below for you to see it in action.
1. Heat The Water
No time or equipment for precise temperature measurements here, so just boil it, or run it through a standard hotel coffee maker.
2. Grind The Coffee Beans
Grind the beans (A medium-fine grind setting is best for an AeroPress) so you have enough for 2 tablespoons of coffee or about 30 grams. To make things simple, I just fill my 24-gram grinder, which makes a perfect amount for a 20 oz tumbler.
3. Rinse & Prepare the Aeropress
Put a paper filter in the drain cap and rinse it with hot water. Then put the cap on the AeroPress and place it over your cup (it needs to be a sturdy one, hence my preference for the Yeti).
4. Steep the Coffee
When the water’s ready, put the coffee in the AeroPress, pour the water over, and give it a quick stir.
Wait 30 seconds and then slowly plunge with only the weight of your hand.
Tip: For milder Americano-style coffee, add more water. Otherwise, you’ll have a nice stiff brew.
5. Drink and Enjoy
For the extra-light traveler, you can dispense with the burr grinder and simply bring along pre-ground coffee. However, ground beans lose flavor with every passing hour (let alone day) of travel. If you go this route, be sure to carry your grounds in an airtight container to preserve them as well as possible.
As you can see, we find the AeroPress system to be the best bet for travel. It’s light and compact, and it strikes a good balance between convenience and quality.
Tips for Traveling with Coffee:
The most important thing to remember when traveling with coffee is to keep the beans (or grounds) as fresh as possible. As long as you have a sealed, airtight container, your coffee should be well preserved.
Normally, ground coffee has a shelf life of about 3-5 months, while whole bean coffee can last on the shelf from 6-9 months.
Since the physical state of coffee doesn’t look different when its spoiled, the best way to tell if it’s gone bad is by using your nose. The red flag to look for is whether or not your coffee has a strong aroma. If it smells faint or is barely noticable, your is either very weak, or its probably spoiled. This also changes the taste of the coffee, making it bland.
When you have your fresh coffee and you’re on the move, the best thing to do is to keep your container. It’s also important to note that the less air you have in your container, the longer it will stay fresh. Storing your coffee in cool, dark areas will also help promote longevity in your grounds as well.
More Methods for Travel Brewing:
If you’re on the road or find yourself in the wilderness often while travelling, and Aeropress would be your best fit. However, for the traveler who’s looking for another manual brewing technique, here are some other popular options for you.
The French Press
Similar to an Aeropress, a French Press also allows for immersion of the coffee grounds. The soak time for a French Press is about 4 minutes, which allows flavor of the coffee to be richer and bolder. Like the Aeropress, its easy to use easy to travel with.
Unlike the Aeropress, which is only made of copolyester plastic, the French Press can be made from glass, ceramic, or stainless steel. The stainless steel design being the best suited to withstand travel. There are portable versions of French Presses that work just as well as an Aeropress.
One characteristic that sets the French Press apart from its cousin is its ability to make more coffee in one brew. Aeropresses are designed to make enough coffee for one single serving, whereas the French Press is efficient to make multiple, anywhere from 2-5 depending on how big it is.
Granted, you can still make multiple cups of coffee with an Aeropress, you’ll just have to do the process repeatedly to get however many servings you need. So if you don’t mind being a little bit patient while waiting for it to brew and you don’t mind taking an extra minute of time to clean it, a stainless steel French Press might be your best bet.
Pour Overs
For Pour Overs, the technique is as simple as it sounds. In order to do an effective pour over, the grind size should be about medium-coarse. If you believe your pour is a little bit faster than it needs to be, try grinding your coffee a little finer.
Pour Overs are effective because the require minimal parts to brew a cup of coffee. Many use a chemex (link) to do pour overs with because of their simple and professional design.
After you’ve saturated your paper filter with hot water to remove the cardboard/paper flavor residue, pour in your grounds. Using water from a goose-neck kettle, since this style will give you better control over the slow pace you need to have when pouring.
The most important method to pouring the hot water is to pour it in cycles or circular motion. Pour the hot water in circles about 2 or 3 times, and wait for the grounds to rise, a process thats called “blooming.” This process allows CO2 gasses trapped in the grounds to release, removing the chance of any grounds being unsaturated and lessening the chance of the coffee having a sour-ish flavor. Click this video below for a visual demonstration:
A Pour Over is perfect for the traveler who wishes to spice up their brewing routine while on the road. Though the style does take a few minutes, for those willing to wait, the robust flavors that it creates are worth it.
Unlike Aeropresses, Pour Overs can be done in a variety of styles and sizes. They are equally easy to clean, however they do require extra equipment. For a pour over you’ll need your grinder or pre-ground grounds, a filter, the Pour-Over device, a goose-neck kettle, and a mug (or mugs) of your choice.
Moka Pot
To those who might like their coffee a little on the strong side, the Moka Pot will likely become a close companion of yours. When brewing with this method, using coarser grounds will give you a better flavor than finer grounds since water is able to saturates coarser grounds easier.
Moka Pots are made of metal, simple in construction, and are easy to clean. However, cleaning is a very important step for the Moka Pot because any old and stale coffee that’s left in the inner funnel will add an unpleasant sour taste in your future brewing.
Like the Aeropress, Moka Pots create flavorful coffee with a combination of heat and pressure. After your pour hot water in the bottom chamber and place your grounds in a filter on top, place the Moka Pot over a flame. As the water heats up it will begin to evaporate, creating pressure to saturate the grounds and push them upwards through the funnel. Here’s a quick clip to show you how it’s done:
For those without a kettle, it is acceptable to pour cold water into the bottom chamber to hear up over the stove, but it will also heat up the coffee grounds and possibly alter the flavor of them. Because of this, its best to fill the bottom chamber with hot water and then add the grounds and place it over a flame to brew.
Time to Hit The Road
Good coffee should be enjoyed whenever, and wherever you are. Once you’ve picked out your brewing method and packed up your machinery, you’re ready for your next adventure!
Happy caffeinating!